Your driveway plays a key role in the external appearance of your home. It forms a huge part of people’s first impression and can seriously affect the value of your property. And even if you plan to stay in your home for a long time to come, a beautiful driveway adds to your satisfaction.
To keep your driveway in the best possible condition, proper driveway maintenance and repair are vital. But depending on the material your driveway is made from, it’ll have different requirements. Here are 6 of the most popular driveway materials, as well as how to maintain and repair them.
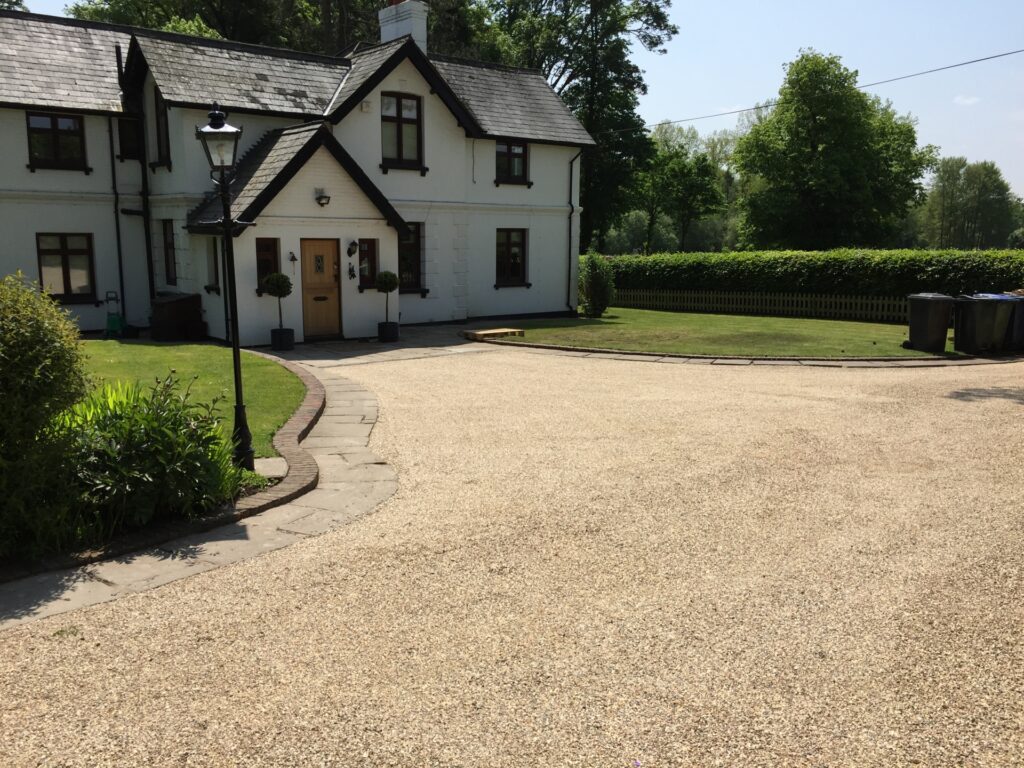
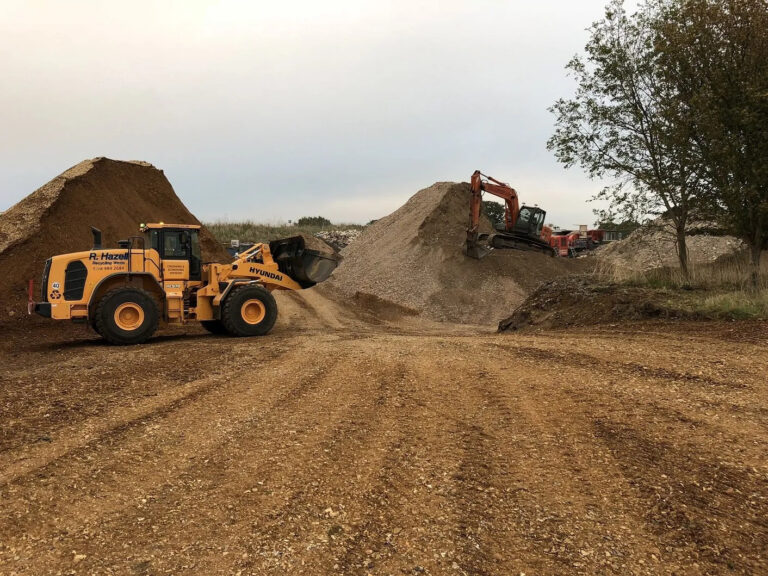
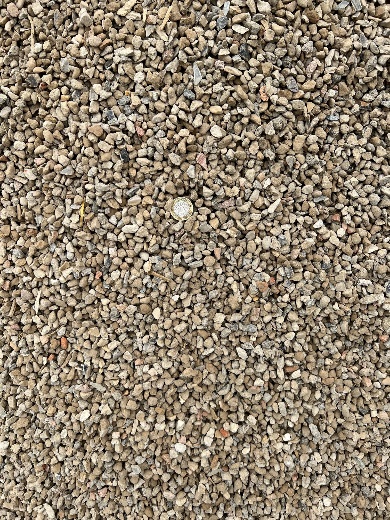
Gravel is by far one of the most popular driveway materials. These driveways have excellent kerb appeal, and look natural and lovely while being fairly easy to keep neat and tidy. You can also choose from a variety of gravel driveway colours to match the aesthetic of your home or garden.
This is also one of the cheapest driveway materials, and very easy to install. In all but the rarest of cases, you won’t even need planning permission. Your supplier will install your gravel driveway one layer at a time over a few days. When each layer is installed, it’s then rolled down to compact it and left to settle overnight.
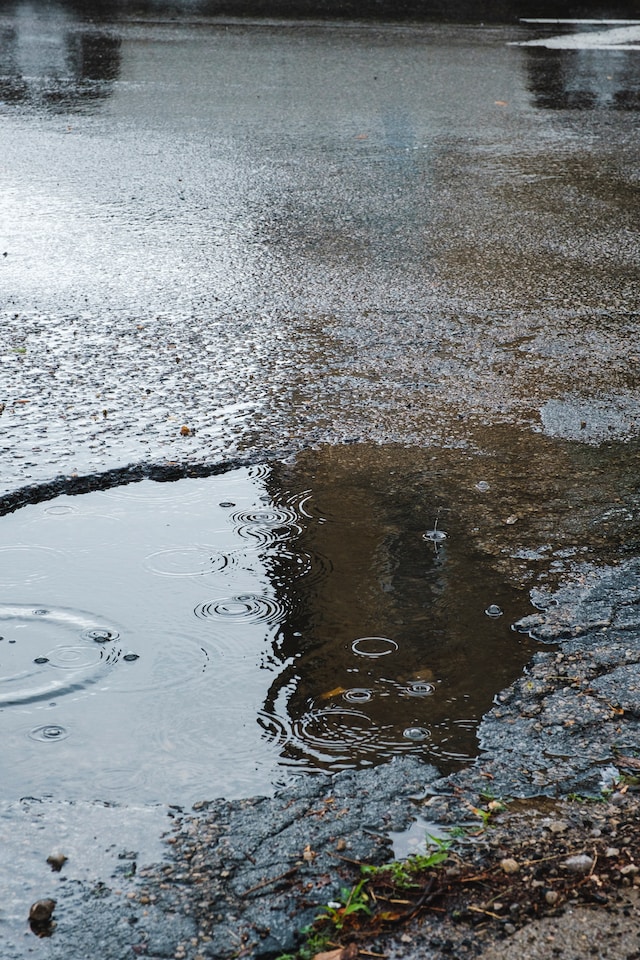
In a rainy country like the UK, gravel is a great choice for a driveway material because it has extremely good drainage. Even during the wettest months, water will drain away with ease, leaving no slippery puddles or standing pools.
However, gravel isn’t an ideal driveway material on particularly steep slopes. That’s because the gravel can come loose and roll down the hill. You can use a plastic mesh or grid under the top layers to reduce gravel loss, but it’s very tough to prevent on an incline.
Over time, your gravel will erode and holes will form in the top layer. When this happens, fill in any potholes and compact the gravel using a plate compactor or hoe until the surface is flat. Then, spray your driveway with water to loosen the soil below and help the gravel shift and settle properly.
You might also consider creating a crown on your driveway to protect against future erosion. This involves creating a high point along the vertical centre of your driveway with a gentle slope running down each side. This encourages water to flow away into the surrounding vegetation, further improving drainage.
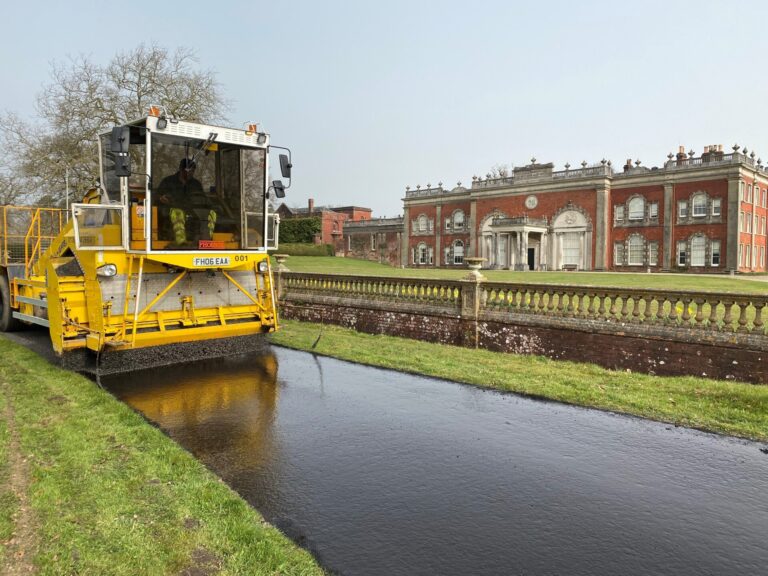
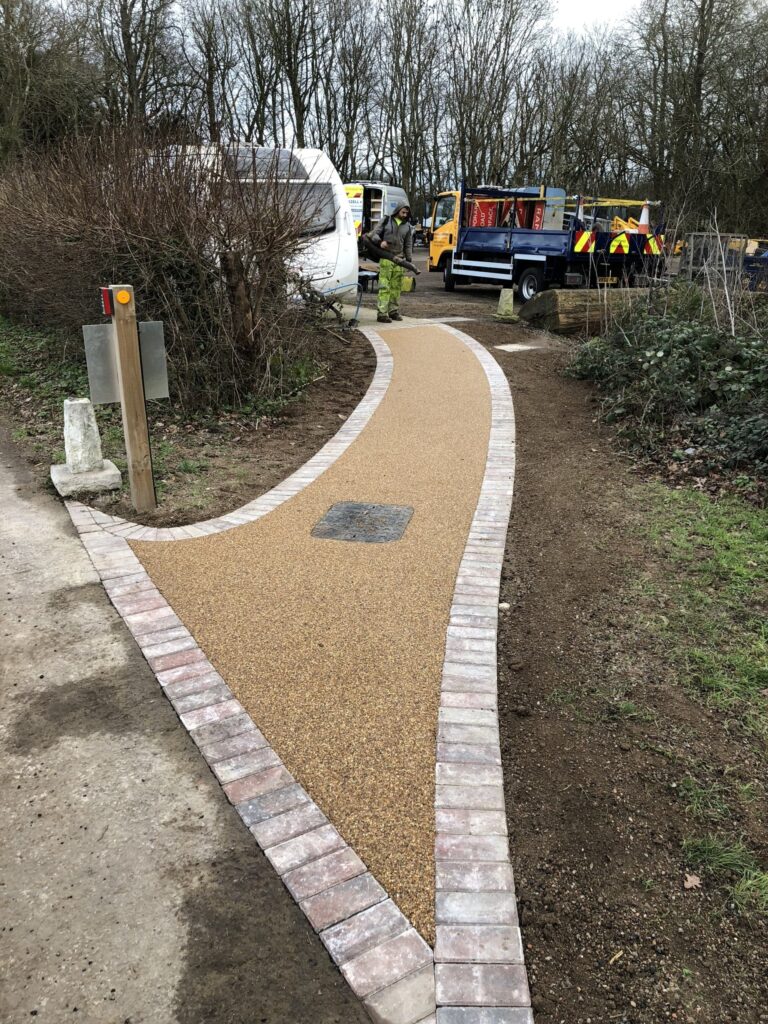
In a traditional gravel driveway, the stones sit loose on the floor. But in a resin-bound gravel driveway, they’re set in resin so they don’t come loose when cars or people move over them. This gives you the timeless elegance of a gravel driveway without the hassle of replacing or relaying the aggregate material.
Although the gravel is held together with resin, this type of driveway is still very permeable and offers excellent drainage. Resin-bound gravel driveways are also highly resistant to weather, and so won’t crack or warp as the temperature and conditions change. And just like a traditional gravel driveway, you can choose from a range of colours and textures to suit the style of your home.
If you notice a small crack in your resin-bound gravel driveway, you can easily fill it with sealer or a resin-bound binder. However, if larger repairs are required, you might need to chisel out the cracked area and lay a fresh mixture of resin-bound gravel.
Unless you’re trained and qualified to lay resin-bound surfaces, you should leave repairing a resin-bound gravel driveway to a professional supplier like Hazell & Jefferies. These repairs aren’t expensive and they should be complete within a single day.
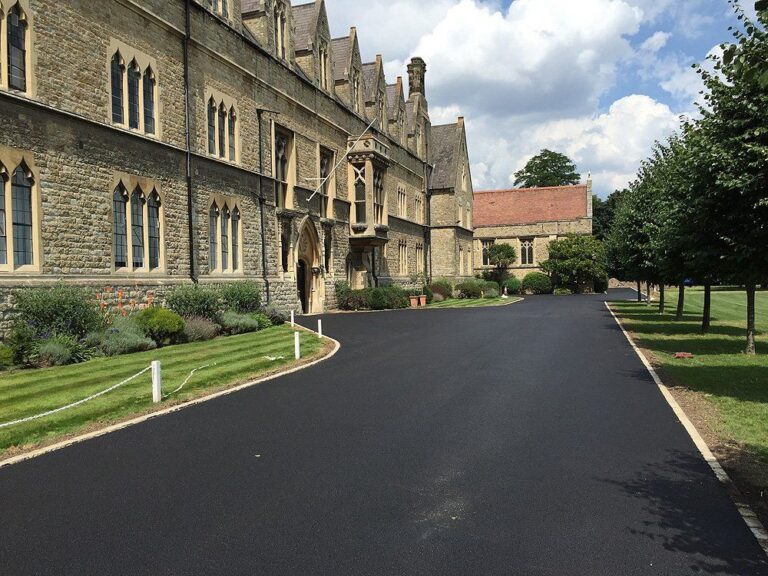
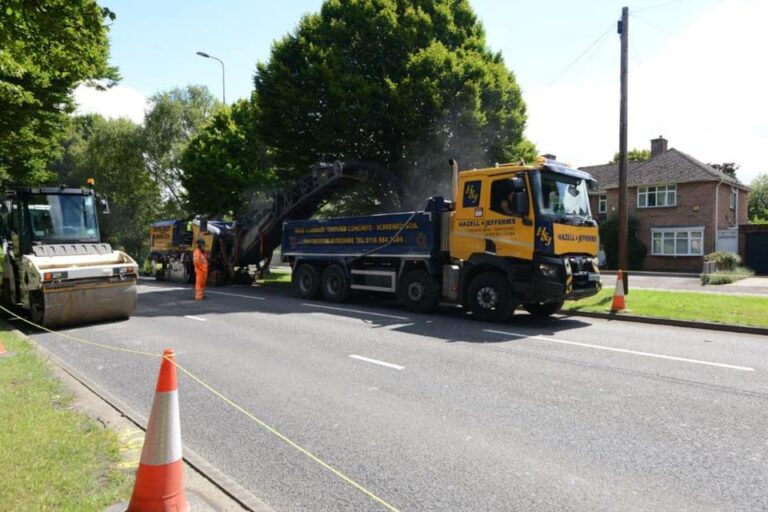
Tarmac is a versatile and inexpensive driveway material. It’s incredibly hardwearing, and you can expect it to last a long time with only a few loose stones needing to be replaced. This makes tarmac an excellent option for driveways that see a lot of heavy use.
Similar to repairing resin-bound gravel driveways, it’s recommended that you contact a professional supplier to repair a damaged tarmac driveway. But if you’re experienced in DIY construction, you can perform the repairs with a few easy-to-get tools.
First, remove the damaged area and at least 100mm of the surrounding undamaged area in a rectangle shape using a power saw or similar device. Then, use a brush to prime the vertical edges with cold pour jointing compound.
Fill ¾ of the hold with a repair macadam mixture and compact using a vibrating plate, small roller or lump hammer. Immediately add a second layer and compact against so that the new surface is level with the existing surface. Finally, seal the joint between the old and new surfaces using more cold pour, and cap the joints to keep water from getting in.
The low cost of concrete driveways has made them a very popular option. They’re also available in many colours and patterns, giving you a lot of creative freedom in the design of your property. And once your concrete driveway is laid, it’s very easy to maintain.
One drawback of a concrete driveway is that it can take up to a week to fully set. That means you won’t be able to walk on it, and you’ll need to park your cars elsewhere. But the wait is more than worth it, as a well-laid concrete driveway could last for up to 30 years.
Repairing cracks in concrete is a simple task. And anybody with experience in DIY home improvement should be able to resurface their driveway with ease.
If your concrete driveway is damaged, start by removing debris and washing the surrounding area. Then, mix concrete in a 5-gallon bucket and fill in the gaps using a flat-edged trowel.
Once the fresh concrete has dried, mix a thinner batch of concrete resurfacer. Wet the concrete, then use a rubber squeegee to spread an even coat of resurfacer on the new concrete.
After the resurfacer sets, drag a broom with an extended handle across the surface to give the repaired surface some texture. This is called a broom finish, and it keeps your new concrete from becoming slippery when wet.
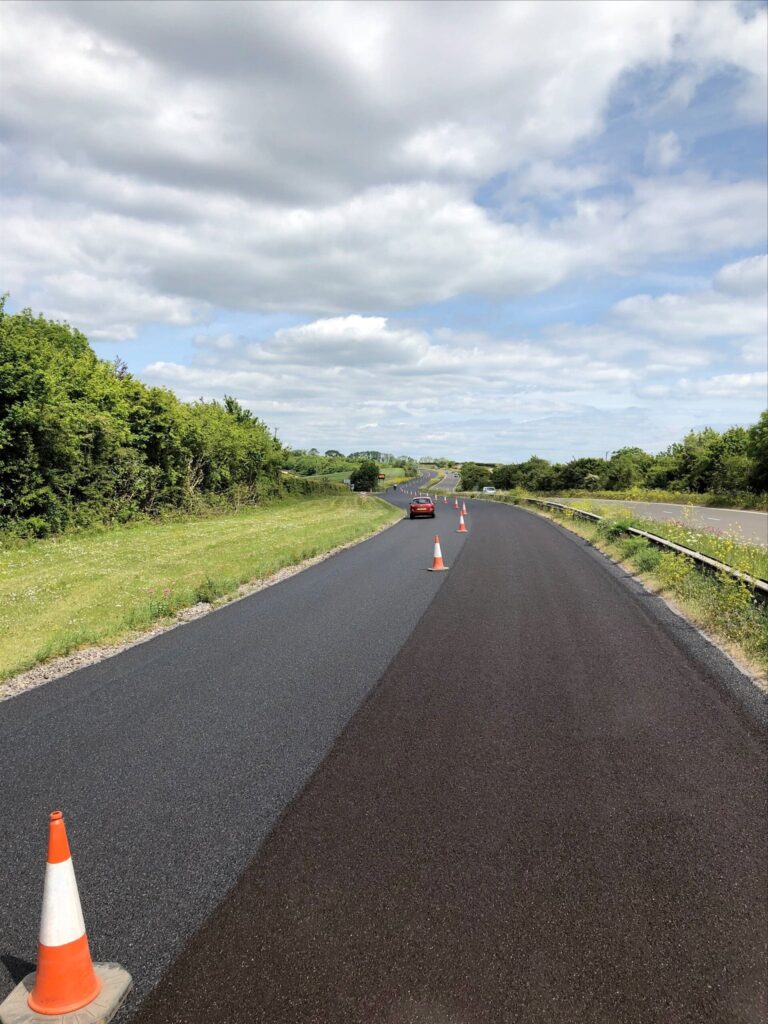
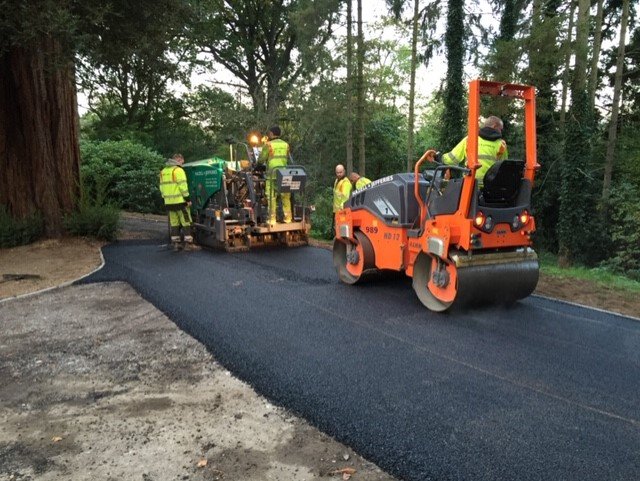
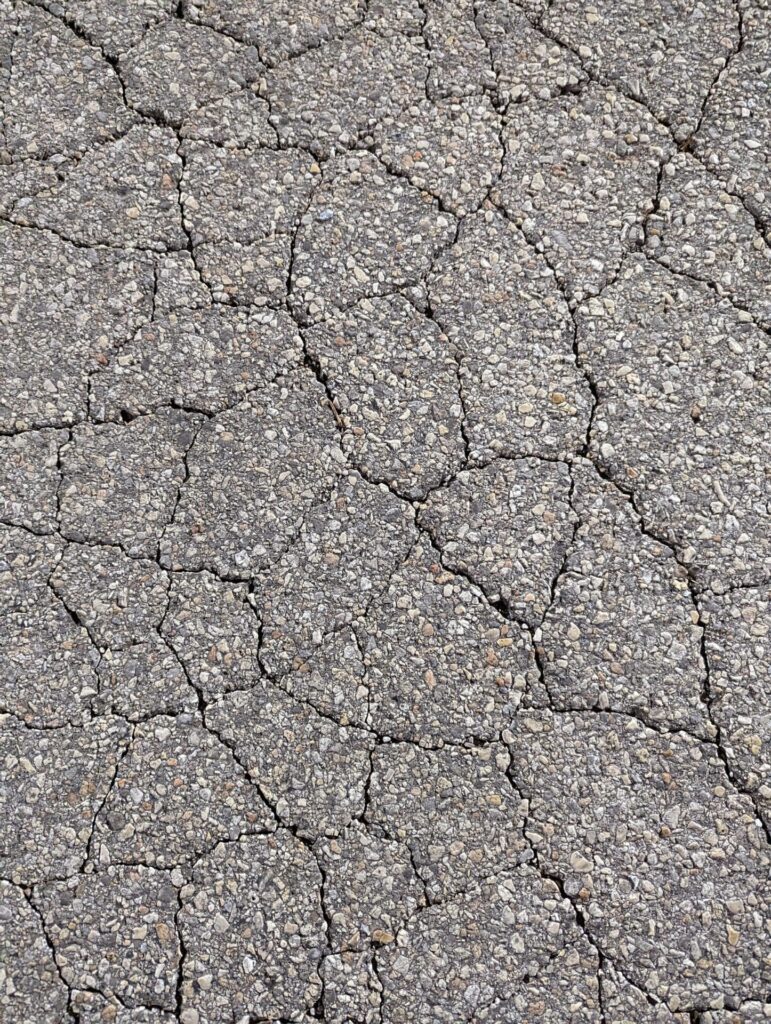
Asphalt is a flexible and malleable driveway material option that’s even cheaper than concrete. It won’t crack due to weather or pressure, but the weight and pressure of heavy cars can cause damage. Cracks and holes are easy to fix, and the material sets extremely quickly, but asphalt is best suited for areas with low vehicle traffic.
For cracks and other small damage, start by using a vacuum or leaf blower to clear the area of debris. Then fill it in with asphalt filler or sealer using a caulking gun. If your asphalt driveway has low spots, apply a trowel-on patching formula and leave to cure for at least 48 hours.
Large holes, however, need to be filled with cold patch asphalt. If the hole is 4 inches or less, simply pour in the solution. If it’s deeper than 4 inches, add a gravel base to reduce the depth to 4 inches or less. Then, firmly compact the cold patch asphalt and allow it to cure solidly. This can take up to 3 months.
After repairing your asphalt driveway, clean it thoroughly and add a coat of sealant.
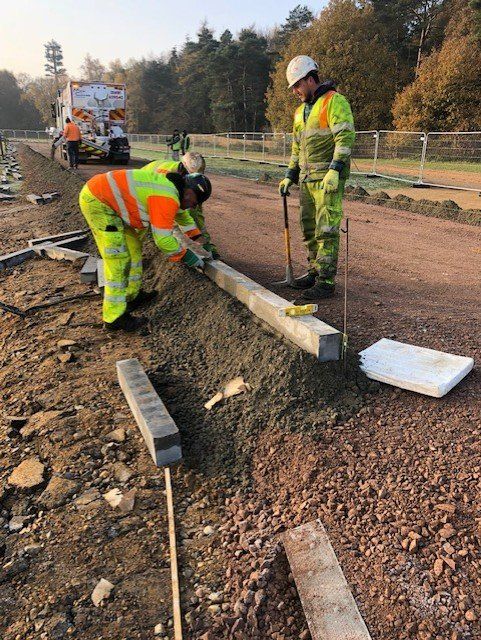
Block paving, also called brick paving, is a highly decorative method of creating a driveway. You can mix up the patterns of your blocks or use different shades or colours to create new effects. That way, you can create a timeless, classic look that adds serious value to your property.
When paving a driveway, make sure your blocks are solid enough to withstand regular vehicle use. Some natural stones are brittle and prone to cracking if they’re too thin. So get an expert’s opinion when choosing your materials.
Remove the jointing sand between damaged or uneven blocks to loosen them. Lift them away and level any uneven areas with grit sand. Never use building sand when repairing block paving driveways, as it doesn’t offer the same support or drainage.
Replace damaged blocks with fresh blocks and use a small rubber mallet or the wooden end of a club hammer to tap them into place. Compact the paving with a compactor plate or straight-edge timber and hammer. Lastly, add more jointing sand to the gaps between the block paving slabs, sweep away any mess and compact once again to lock the slabs in place.
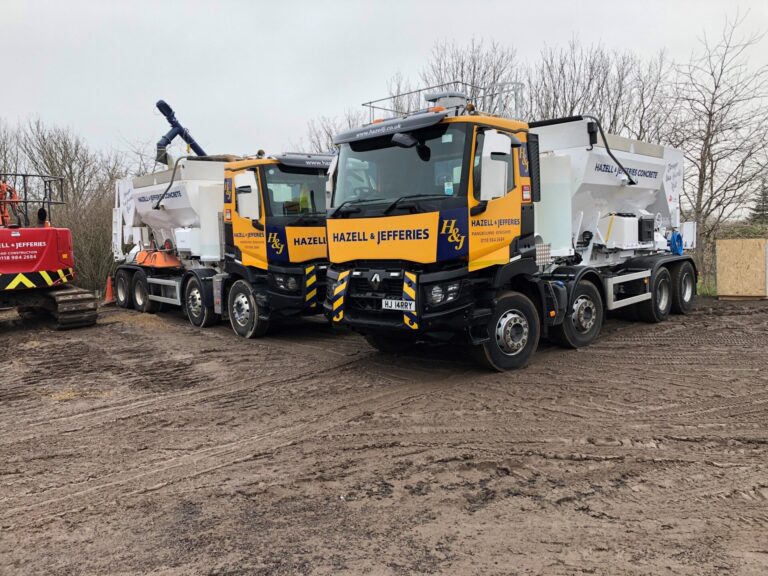
Homeowners and business owners from across the country rely on Hazell & Jefferies Ltd for fast, affordable, high-quality driveway installation and repairs for all driveway materials. Get in touch today to find out how we can meet your construction needs.